
Monday, August 1, 2016

Monday, July 18, 2016
Kitchen Progress
Yes it has been a while since I posted anything. Truth is there really was nothing worth talking about . And I am trying to be polite here . So after a few interruptions I got back to working on the kitchen .
I wanted to make the counter either side of the stove out of butcher block. I priced out buying some pre-made maple butcher block and it was ridiculously expensive and they only offered the one made up of 3/4 inch strips . I wanted the one with the wider 1 and 3/4 strips. So nothing to it but to make up my own .
 So I bought a massive rock maple plank , seventeen inch wide X ten foot X two inches thick. Twenty eight board feet at $6.49 a BF.
 Cut it in half
 And ripped it up in to 2x2 inch strips on the table saw .
 made a mess of strips
 . . . ran them through the planer
 and cleaned them up
 After ripping and planing I am down to fifteen inches wide, so I lost two inches over ten feet of length.
2" X 10' = 20 divided by 12 = 1.66 board feet, probably closer to 2 board feet if you account for the 1/4 inch thickness loss .
 . . . all gone in a big pile of shavings
 set up my bar clamps on the bench
 and started spreading glue
 . . . and squeezed them all together . I actually made it up to be two sections eleven inches wide and one three and a half wide as my planer can only handle twelve inch width. And I knew I'd need to clean them up again to get all the unevenness out of the glue-up. Then after they dried overnight and I ran them back through the planer . . .
 . . . . and then did a final glue-up and put the three big planks together. This way I only had two seams to clean up by hand . So after a massive amount of scraping and sanding with the belt sander and some trimming . . .
 The final result after I hit it with some butcher block oil
 This is the stuff I used to seal the wood . It is a food grade mineral oil with some waxes in it .
 I also sanded and refinished both of the older butcher blocks I've had for years
 and put them in place either side of the stove
 Back at the beginning of June I did yank out the sink counter and pulled two layers of old 3/8 thick drywall . Rewired , and hung new drywall and got the old cabinets back in place . I made up a new temporary counter out of MDF with several coats of polyurethane to seal it well .
 And got the fancy new under-mount sink and faucet installed
 The cabinets will get new doors and a coat of paint next so I can put off building new cabinets for a while .
 Just in case you think we are a bit spendy on all this kitchen remodel business, here is what our old sink looked like . I think we got all the life it had out of it and then some . Note the multiple epoxy patches where the enamel had blown off .
 Back in June before we were interrupted I also got the drywall mudded , and kitchen window trimmed . That's the first time in six years that we actually had trim on the window .
 The Formica back splash above the stove is just a temporary set up with some remnants I had. For now it should keep the drywall from getting splattered with grease. The plan is to cover the entire stove side wall with stainless steel. I have some sheets that I salvaged from a metal fabricator's dumpster , I will need to figure out how to clean up and hang .
I wanted to make the counter either side of the stove out of butcher block. I priced out buying some pre-made maple butcher block and it was ridiculously expensive and they only offered the one made up of 3/4 inch strips . I wanted the one with the wider 1 and 3/4 strips. So nothing to it but to make up my own .


2" X 10' = 20 divided by 12 = 1.66 board feet, probably closer to 2 board feet if you account for the 1/4 inch thickness loss .


Sunday, June 5, 2016
Windsock Village Open House Fly-in
Saturday we went to the open-house / fly in being held at Windsock Village in Ossipee New-Hampshire . Windsock Village and Soaring Heights are two residential air parks that share a four thousand foot runway . Seems a lot of owners have passed away or moved on recently and they have quite a few properties available for sale . So the general idea was to try and promote sales to a fairly narrow market of aviators that want to live next to their own hangar . As usual it was a good time with friends and acquaintances . And there were lots of nice airplanes to be seen .
 A 1920s Curtiss Robin
 With a nice classic looking hangar
 This is the same model plane that Wrong Way Corringan flew across the Atlantic in 1938. He had flown from California to NY and was denied permission to fly across to Europe . So he filed plans for a flight back to California but "lost his way" and landed in Ireland .
 Wicker seats , one in front, and two skinny ones side by each in the back .
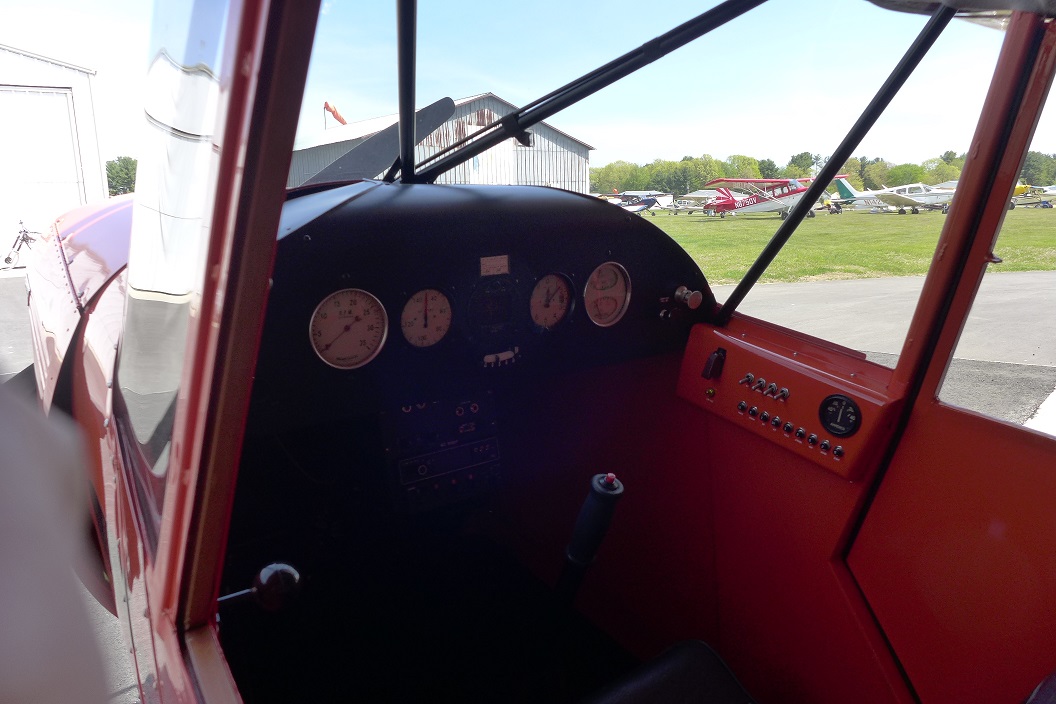
 And just the basics for instruments .
 Beautifully done hand painting
 Large low windows between the pilot and the engine .
 Classic stance
 A nice reasonable size house and the perfect toy-box
 One of the properties with a perfectly restored Aeronca Sedan out front .
 Just as nice inside as it is outside
 A lovely home built Thorpe T-18 .
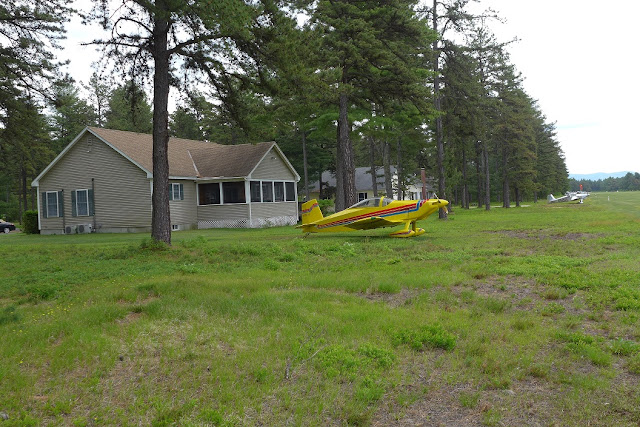 In front of its owners house
 A view down the 4000 foot runway
 And another home-built RV-6
 And a Farichild 24 awaiting reassembly after shipment ,property of the same fellow that owns the Curtiss Robin
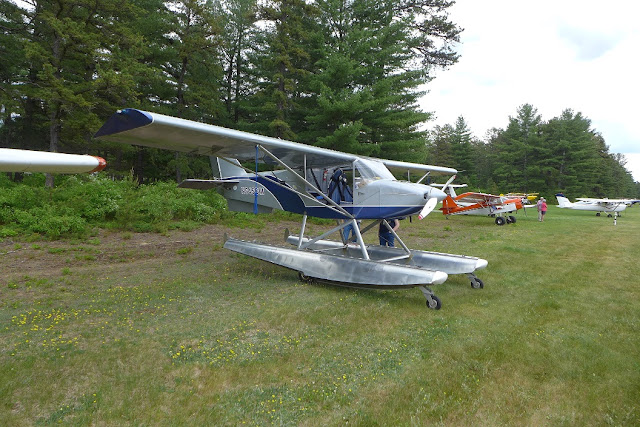 The usual suspects were present . . .
 . . . with their ability to alight on water as well as land
 And this is the hangar where the main festivities and food were being served . It is here when the battery in the camera went dead . So I'll leave you with some more fun photos taken by Paula Moore at this link .
https://goo.gl/photos/


https://goo.gl/photos/
Sunday, May 22, 2016
Hampton Fly-Market 2016
Saturday was the annual Hampton New Hampshire Fly-Market (aviation boot sale for yous foreigners) . So we went down for the morning to see whats new. Did not find anything that I absolutely needed among the items for sale, so we just checked out the planes and visited with friends and acquaintances .
 Saw a perfectly restored Piper J-5 in the hangar
 The J-5 is the Cub Cruiser with the wider fuselage and roomier back seat and a 100 hp engine
 Looked like the day it was delivered from the factory
 Its available for sale . . . . and if I hit the Lottery I'd be all over it .
 Same mechanic was working on a restoration of a Taylorcraft
 He sure does nice work
 He had a freshly restored Aeronca Champ available for sale as well.
 On the flight line there were the usual suspects, so I won't bore you too much with them all
 This one an old Cessna 195
 And the yellow mongrel had a new coat of paint
 A Grumman Widgeon made an appearance
 Straight out of Tales Of The Gold Monkey, except with some new-fangled electronics
 Quite roomy and with the back seats out it would make for a nice camper
 A classic from the 1940s still flying today
 Among the homebuilts was a new Tatcher CX-4
 80 mph on a VW boxer engine sipping three gallons an hour. Not bad
 And spent a few minutes chatting with Bill Beauvais who was building a Corvair engine for his Fly-Baby and had a few extra bits for sale .




Subscribe to:
Posts (Atom)