Last week's project....
I have a nice Atlantic Stove-Works #40 pot belly coal stove I bought for $25 a few years back. But it really is not enough to keep the garage downstairs warm when its really cold outside and coal is awful expensive these days. The little stove though nice does not burn wood very efficiently and can't take firewood of any significant size to last for more than 15 minutes.
So I figured I'd try my hand a building something that can burn wood a bit better. A 40 lb propane bottle should do the trick .
First step is using a cold chisel to knock the top ring safety collar off it and saved it for use further down the line. Then make sure it is empty and they never quite are. As the propane leaves enough residue to keep off-gassing and create a real hazard if you put a flame or spark to it. Left the valve open on it outside for a few days and then removed the valve and filled it with water. Then I drew a nice circle on it and using a sharpened nail set punched several holes along the marked line and finished them off with a 1/8 inch drill bit so I could get the saw-s-all in it and cut the top off.
then a bit of cleaning with the angle grinder
Next step is to fashion a hinge. Using some 3/8 bar stock from the scrap bucket I cut some suitably shaped bits and drilled them with a 1/2 hole using my cheap Harbor-Fright Chinese made vertical mill.
...and grind the mating surfaces on the bits slightly concave to fit the face of the gas bottle lining everything up with a 6 inch long bolt.
then .... weld them on with the crappy stick welder
after some minor adjustments the hinge works smoothly with minimal slop...
...then added some legs, again pipe stock sourced from my scrap pile,
3 legs being more stable on the uneven concrete floor in the garage. I also added a small lip on the striker side of the door to give it something to land against.
Next step is to cut a suitable hole for the stove pipe flue.
...and using the safety collar I originally cut of the top of the bottle I made up a appropriately shaped fitting to connect the stove pipe and welded it all together.
Yes my chicken-shit stick welding skills are not pretty, but it is tight and with hold the stove pipe firmly.
Next step is to add a handle /lock to the door and a damper for the flue and perhaps some vent holes in the door..
*POSTSCRIPT* see the next two posts for more details.


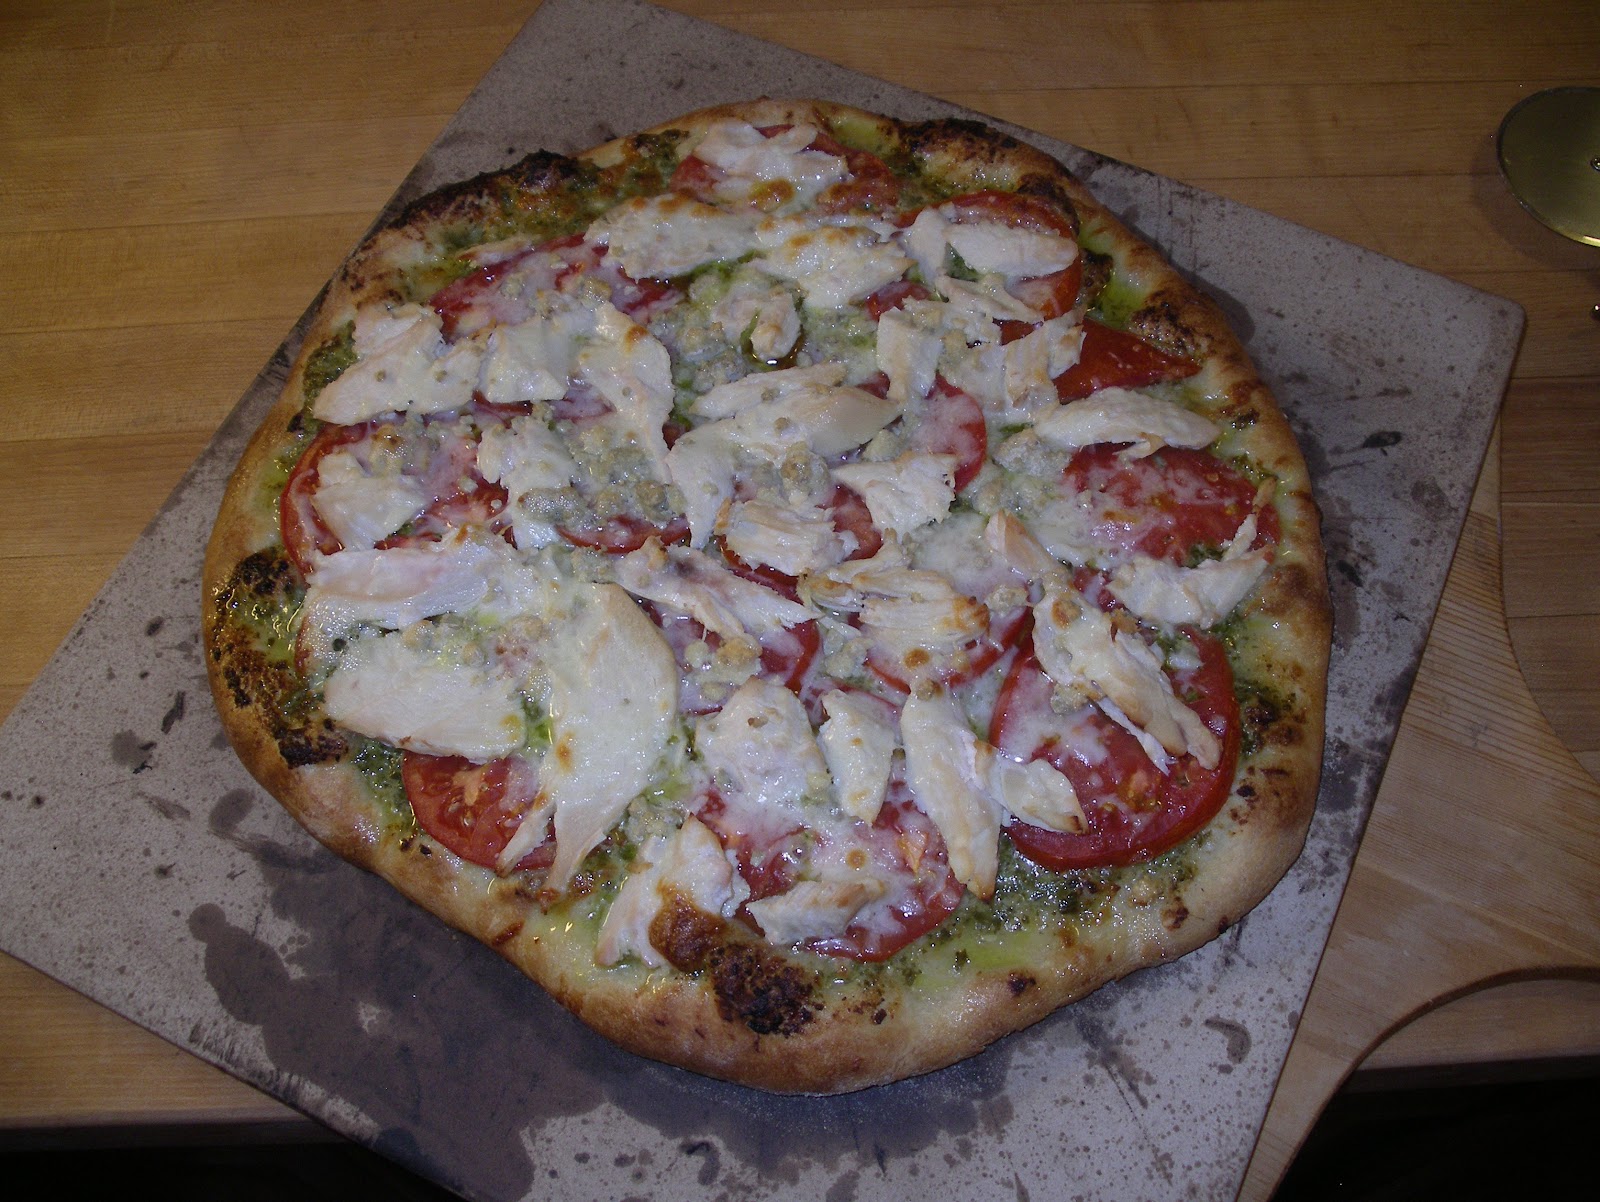
 roll out your dough and add a good layer of Pesto and some sliced tomatoes from your garden.