On Tuesday this week the new Broan extractor hood arrived at the vendor so I went to get it and spent a few hours installing it .
440 CFM of air a minute . . . never had an extractor hood before , should make a difference .
Then on Wednesday they delivered our new hot-rod Frigidaire stove . We've never been big spenders but on this one we went all out . We paid more for this thing than we did for the used Odyssey minivan I am driving these days. This thing counts for the next ten years of Christmas and birthdays combined .
As the delivery boys had called early to notify us they were on their way I disconnected our old stove making it ready for them to take out , so I had to cook my morning egg on my Bunsen burner .
Then I set about converting the new stove from natural gas to propane . As Propane is a thinner gas this essentially involves changing out the gas nozzles on the burners with smaller orifice nozzles . One must also locate the gas regulator on the thing, unscrew a large nut cap and flip a little plastic cap over to the propane position . And according to the instructions provided, you have to change the so called "gas spud" for both of the burners in the oven . More on this later .
This is what the gas nozzles look like on the stove top . The sharp ones among you will quickly notice the perils of this delicate operation . Yes I was not so sharp . So I grabbed by 7mm deep socket and a T handle and un-threaded the natural gas nozzle and brought it up an out of the housing it sits in . OK that's not so bad .

Next select the correct propane nozzle from the kit provided . I started with the 16 K burner. I put it in the 7mm socket and it seems to have enough friction to stay in there so I reach to screw it in to the fitting and it promptly drops out of the socket and in to the lower carcass of the stove top . CRAP!!! impossible to reach . I read where the manual tells you it is impossible to remove the top from the rest of the appliance . . . . . so after an hour of fiddling I am able to remove the front cover where the knobs are , and have limited access to the internal pan of the stove top, and can see the nozzle . Sorry no pix of this part , I was too discombobulated to remember the camera .
So with my little telescopic flexible grabber I am able to snag the offending nozzle after a few more minutes of struggle . And I realize that this is the best tool to start threading in the new nozzles without the risk of repeating the mistake .
By now it is 11:30 and time to meet Clint at the airport to go fetch , test-fly and shuttle his Bonanza back to Portland from Oxford where his mechanic Ben had been replacing the mechanical fuel pump due to low fuel pressure .
An hour and a half later we are in the air in Oxford testing out the repairs and checking we have proper fuel flows and manifold pressure as we climb to altitude .
Fifteen minutes later we come back down to terra-firma .
Shoot the breeze with Ben and . . .
. . . check out some . . .
of his other projects . . .
and toys in his shop .
Soon it's time to head back so I settle in for the long drive back to home and back to the Frigidaire stove.
Remember the blasted "gas spud" for the oven burners? This is what it looks like . The instructions say that it comes with a #35/38 natural gas spud and it must be replaced with a # 52/53 spud . But . . . . they did not provide such a spud . . . hmmmmm? after some exploring , I note the number on the one in the stove is actually a #46 . . . hmmmmm? that's kind of half way between 35 and 52. . . perhaps the #46 gas spud is meant to be for both natural gas and propane???
After some consultations with Mr Google and Mr Youtube, my dear wife finds a video of
someone doing a conversion of a similar Frigidaire stove, and he shows
how he just cranks down on the spud till it is all the way threaded in ,
and then backs it off about half a turn . So this machine must have some kind of adjustable gas spud . Who'd have thunk it? Learn something new every day !!
He also talks about the "Air shutter" which is that bit of sheet metal than can open or close how much air can go in to the burner and indicates it must be all the way open . So after a fair bit of fiddling and multiple tries setting the oven on broil , tweaking the confounded gas spud , I manage to get a nice blue flame with no yellow at all in them on the broiler burner . Repeat the same with the lower burner and we have success . Took a couple of hours of fiddling and a few scary looking big yellow sooty flames, but I got it .
And and by 7:30 pm I got it all put together the way it supposed to be . And it actually seems to work
That is one hot-rod racing stove .
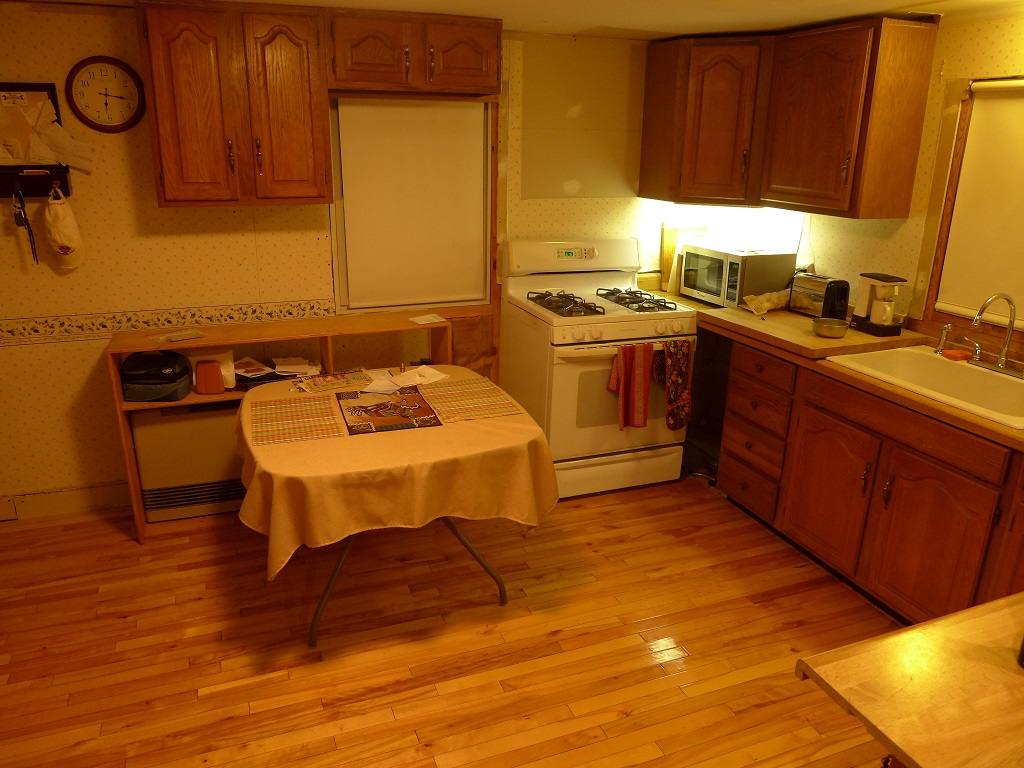
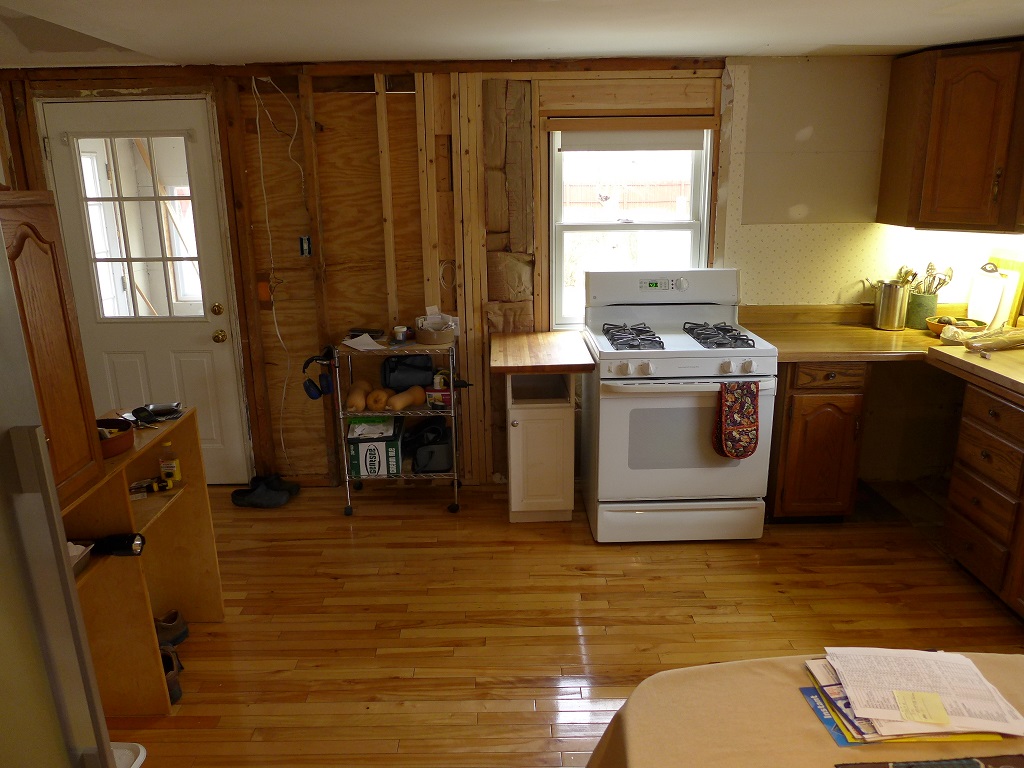
And the new kitchen lay out is taking shape now
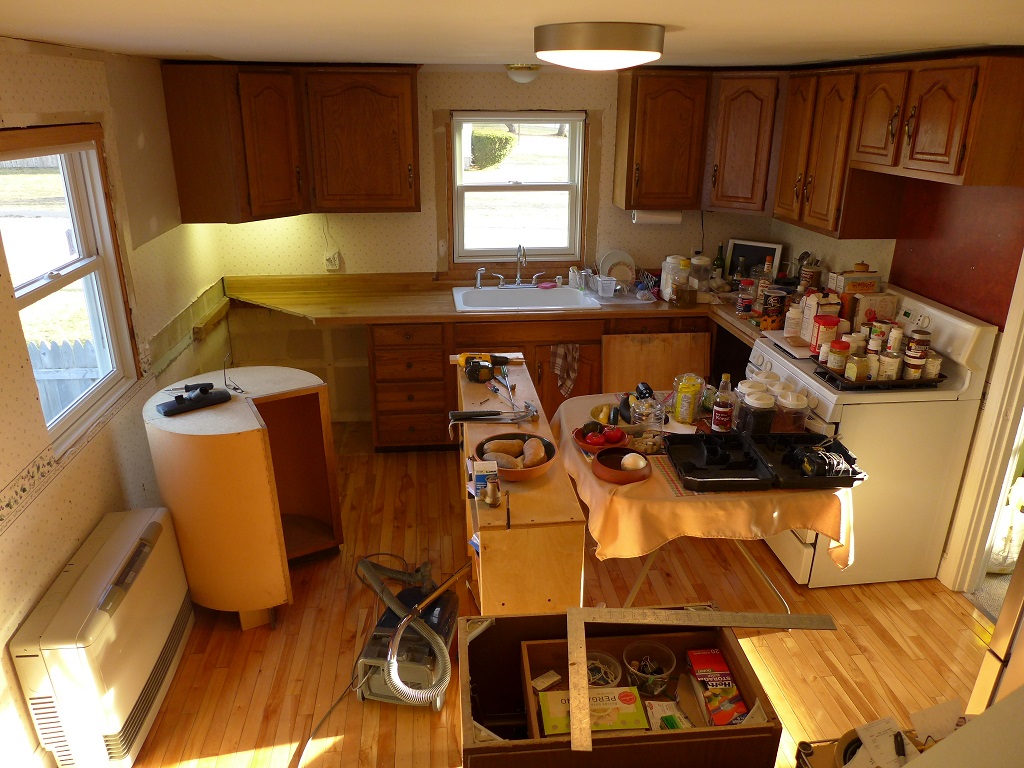
Next day I removed the last three remaining cabinets of the interior wall between the kitchen and the living room which will be coming down next . Removing that wall is the reason we started this whole monkey business in the first place.
And I rearranged the upper cabinet lay out on the back wall . I deleted both corner cabinets and had great satisfaction heaving them in the air outside and watching them shatter in to all their components. Hated the things from day one . Big cavernous things where you can never find what is in them and they cut off the corner making a small kitchen seem even smaller . I will eventually build new upper cabinets . But for now we will use these uppers and just paint them so I can concentrate on building new lower units and new counters.
Our first official dinner in the new oven
Worked awesome , though it actually took setting the oven at 550 degrees F to get the desired 500 deg F so I will need to do some tweaking to get that right .