The other item that failed the van inspection was the worn out sway bar bushings .
From a quick check on you tube I knew they would be a royal pain in the ass as the rear bolt on the strap that holds the passenger side of the sway bar is impossible to access and is typically rusted out from the AC condenser drain that sits right above it .
However while contemplating the problem, I find this absolute catastrophe . And that shot is taken after some cleaning . That is the support bracket for the right side of the steering rack , it is completely gone . As in rusted out through and through . That will condemn this car permanently . OHH CRAP!!!
The dreadful pit in my stomach grows . . . .
I try cleaning things up a bit in there to assess it better and can't seem to get to it with tools as it is way inside of the suspension and hard to reach . So I come up with a pipe inside a pipe that can hold a cold chisel , so I can knock off the rusted pieces of the lower part of the bracket from the chassis . A plan slowly develops . . .
Once I manage to knock off the lower shreds of steel from the chassis and have clear mating surface , I make a pattern out of cardboard of the needed patch .
And fabricate a patch out of thin gauge steel . Enough fretting for one day , it is half past beer time . Need to take a breather and contemplate the situation before I make a bigger mess of it than it already is .
After sleeping on it I reconsider and figure the sheet metal I used was too thin . Found some heavier gauge 4130 steel I had in my pile of junk . So I make a new and improved pattern .
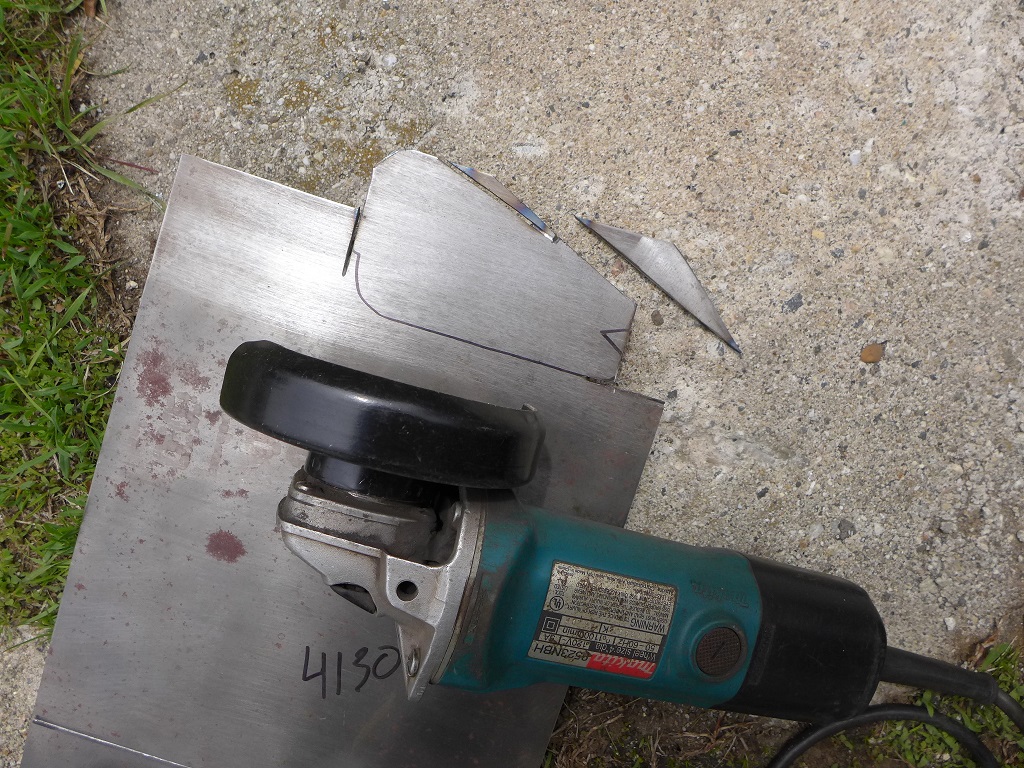
Mark out the piece . . .
And cut out the piece with my angle grinder .
It results in something that looks close enough after a couple trashed cutting disks .
A bit of grinding, and some heavy persuading with a portable , manually operated , optically guided , inertial impact delivery device . . . never hit it harder , get a bigger hammer . . .
. . . . and some drilling , we arrive at this random art form .
Seems to fit the spot reasonably well .
The split where I bent and flared it needs to be filled , so I cut and fit a tiny wedge .
Then hit it with the MIG welder and fill it in .
And some work on the grinding wheel gets me close enough .
Not bad for a hack .
Some contortions with the MIG welder , and some heavy clamping in order to overcome the warping as I weld . . .
Yea , if that rack ever has to come out I will need to cut the spot weld on the strap that holds it .
Not pretty but it is strong enough and will have to do .
Now back to the original task of replacing the sway bar bushings .
Back bolt on the strap was totally roached out and the fourteen millimeter socket would just spin on it . No room to work . After a visit with my friend Gregg Allen for some moral support and encouragement he provides just the tool need to extract the offending bolts . These sockets have counter clockwise spiral cuts so they dig in to the bolt head as you ratchet out the bolts . This will be my next purchase . They truly saved the day .
Had to use every extension in my box , probably twenty six inches in total , and reach in from the top behind the engine using a swivel to get it to break loose . All the videos about this repair on you-tube show them coming in from underneath . I just don't know how they did it as there is no room to fit a socket and ratchet over the bolt down there . This seemed to work much better .
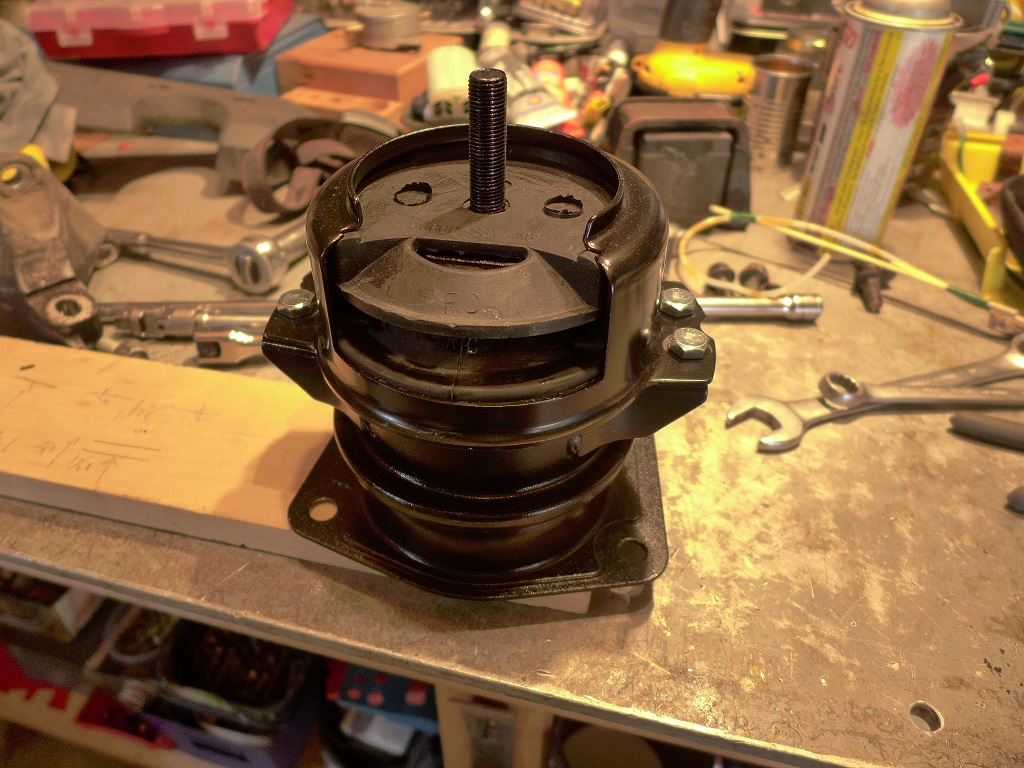
The damaged bushing now replaced , this shot shows the tangled deep location we are operating in .
I installed the new bushing and using a new bolt with a seventeen millimeter head only in the front as it won't fit in the back . I simply could not make the seventeen millimeter socket fit between the strap and the fire wall . I find one reasonably good fourteen millimeter , one and a quarter pitch bolt in my collection of saved bolts that allows me to tighten it with the corresponding socket in the back .
Hit my patch with some undercoating to extend its life a bit and hide my ugly welding .
And proceed to the driver side where we have a lot more room to work and can actually get a ratchet in . The Steering rack mount on this side appears intact .
Twenty minutes later, success.
The appearance of competence is intoxicating .