A few years ago when the brake fluid reservoir sprung a leak and I had to fix the resulting mess , I yanked out the heat and fresh air system in the Volvo . It was in the way and the heater core was giving off the sweet molasses smell telling us it was leaking . At that point trying to get things done I cut a plate and caped the firewall opening and called it good . This resulted in no fresh air in the cabin other than from the windows . And the firewall gives off a fair amount of heat too. I needed to do something about that .
Sooooo . . . .
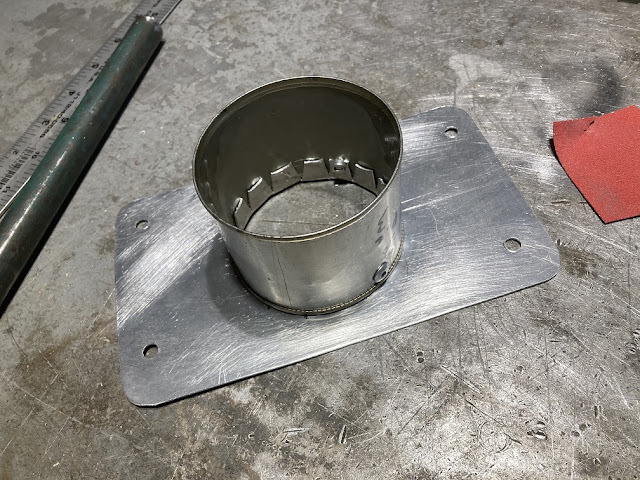
A tin can . . . yes escargots . . . as in snails in a tin can
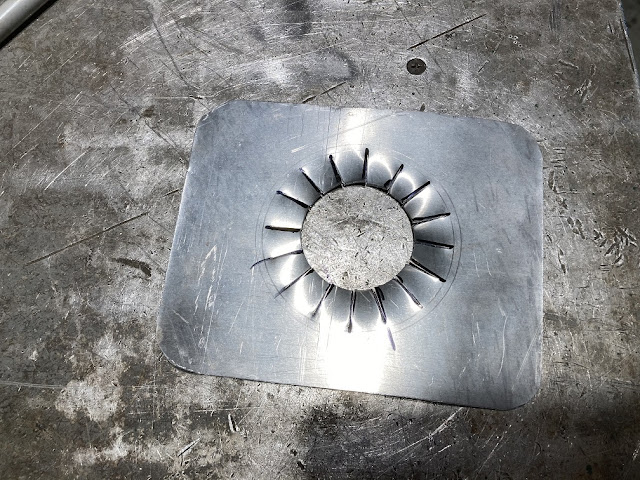
. . on an appropriately confectioned piece of aluminum
Times two . The intake that goes to the left of radiator needs a bit of an angle to it .
Yea it only provides flow when you are moving , but heck its better than nothing .
Now about the Darth Vader heater box . . . yea that's one half of the mess .
A couple hours going at it with the drill and abrasive wheel gets us this far .
lots of grinding later . .
Coat with rust neutralizer to eliminate any pin hole rust I missed
Good thing I snagged about half a dozen cans of this stuff when it was on clearance for $1.25 at Wallyworld .
Yea good as new . . . don't look too close or you'll spot the runs I had to sand out and re spray .
Then there was the leaky heater core itself
That one took about two dozen tries before I got all the pin holes soldered up not just where the cap meets the top plate but were the individual tubes meet the top plate . I'd get one done and the next one down the line would start leaking too . Never took photos of that process .
The fresh air intake up front next to the radiator was all mangled up from sixty years of life . Yea I forgot to get the "before" photo . Mended the missing parts with JB Weld putty, filed sanded and painted with the same appliance epoxy paint . The hardware cloth screen on the front was a mess too . So I made a pattern out of cardboard .
Copied it in aluminum
Hole sawed . . . .
Hole-sawed some more . .
snipped . . .
Filed . . .
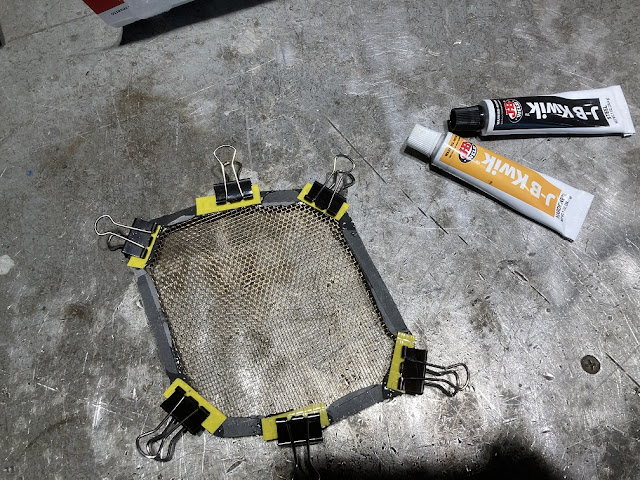
Epoxied some new bronze hardware cloth . The yellow bits come off after a few minutes of curing. They are HDPE from an old kitchen cutting board to get the JB Weld to lay flat and embed in the hardware cloth .
What it was and what is now .
And once installed it wont even be visible . It never had a frame like that from the factory but it was the only way I could come up with to hold the otherwise floppy bug screen in place .
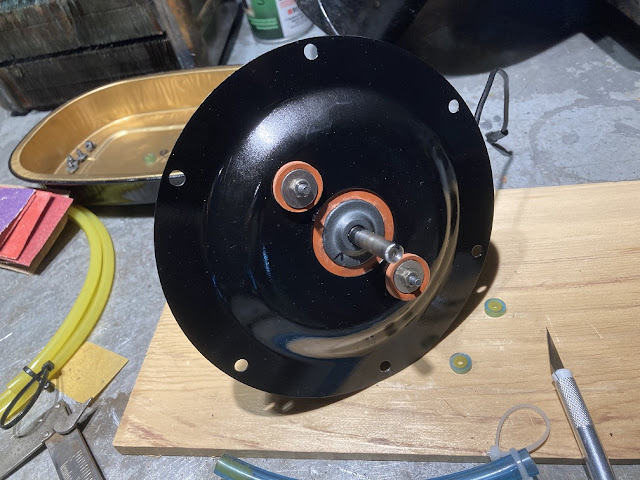
Then there was the blower motor too . See those arms that hold the carbon brushes ? Both are missing the top hook on the hinge point .
JB Weld to the rescue again . Let it cure about four minutes til its just hard enough to hold together . Peel the tape off and start carving very carefully with an Exacto knife .
Not ideal but it will have to do till I source a new motor .
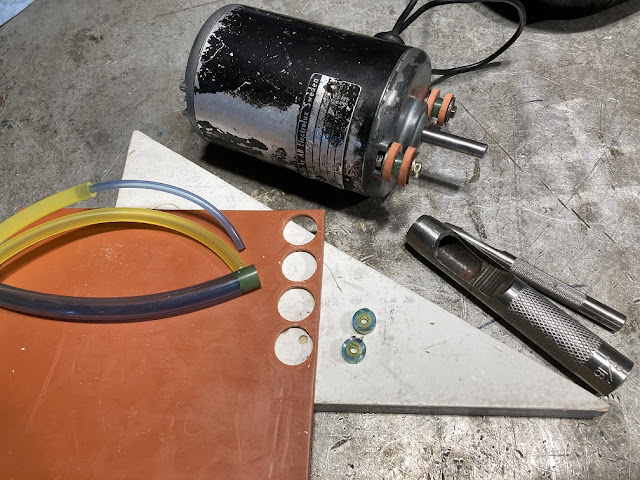
New rubber bushingsAlmost like I knew WTF I was doing
Looks smart don't it ?
There , not quite good as new but it will do for now
Darth Vader's mask ready to go back in the Volvo .
