Friday, May 19, 2017

Closing in the gable ends

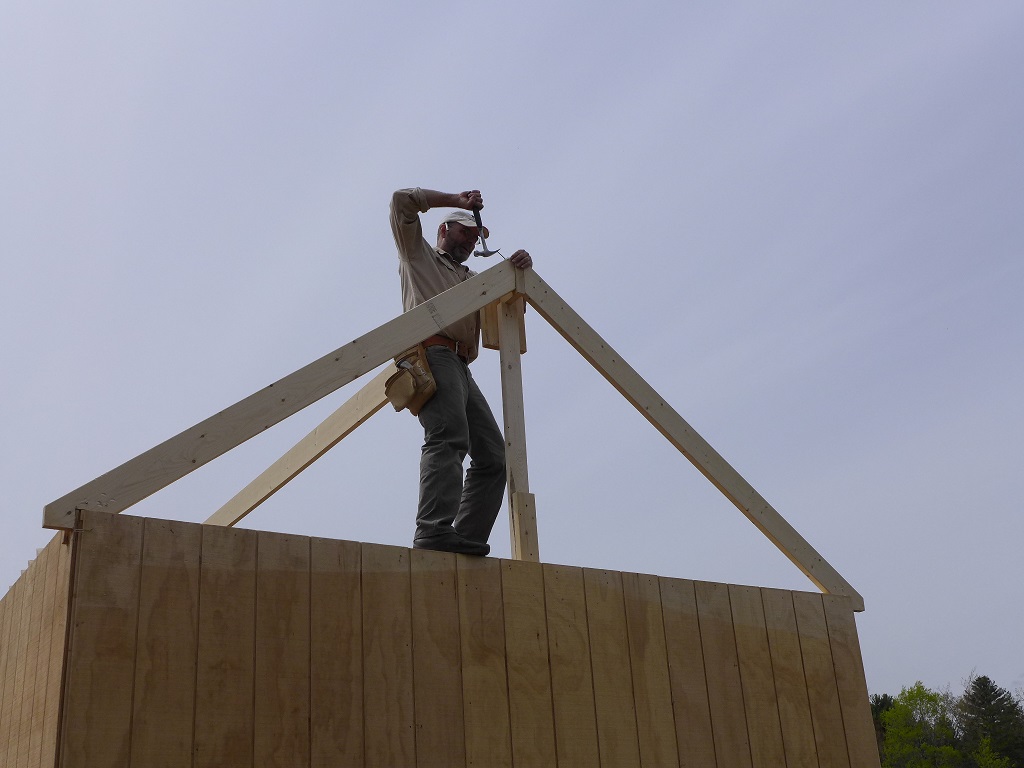
As we had other plans for the weekend we made a run up to Richmond on Wednesday and got a little bit done on Ben's shack . It don't seem like much , and I definitely was not on my best game so there was a bit of three steps forward and two steps back , but we managed to get the gable ends closed in  and had no disasters that could not be corrected with plan B .
Framed out for a window and a vent up high on each of the gable ends . I had a couple of salvaged sky-lights we had originally intended to put on the roof but we got ahead of ourselves in the rush to sheathe the roof last weekend and never framed out for them . So we changed directions and decided to put them in the gable end instead .
Another one we kind of messed up was the collar ties . I should have put them on before we sheathed the roof so we could get them in above the top plate of the wall . So plan B , we cut them to twelve foot exactly and fit them to the wall studs under the top plate as ceiling joists and got a nice loft out of it .
See the gap between the window framing and the vent framing above . The top cross piece on the window framing should have been higher . Yes , The back wall was the first one I framed out and I neglected to add the inch and a half to my glass dimensions up-and-down for the thickness of the window casing I will be adding to the glass . So that was one of the three steps forward and two back . Had to waste some time fixing that .
Once that was fixed and the walls sheathed . . .
We ripped up some #3 1x12 pine and added some trim to the roof rakes .
 The wild ends will get trimmed off after we add the fascia and soffit on the eves . Next time we will set up some staging on the eve ends to do the trim there and start on the roof shingles .

Sunday, May 14, 2017

Building a Roof

Saturday was a ball buster but we did it .
Set up a couple of temporary posts to support the ridge pole at the right height .
Setting up the ridge pole .
Testing the rafter patterns we made last week for fit .
Had to go up with the ridge pole about a quarter inch but everything seemed to fit otherwise .
Then we crown , mark and cut twenty six rafters . Benjamin finish cuts the bird's mouth notch .
And Ben did a fancy stacking job of the cut rafters inside .
And we start installing rafters .
Set the the birds mouth cut out on the top plate first .
First one gets nailed onto the ridge pole .
After the first four go on the front end I switch to the back end to get the ridge pole where we need it to be .
High wire act .
That nail went in wrong .
Moving along now .
Ben caught on quickly and was starting the toe-nails on the bird's mouth so I had one less thing to mess with up high .
Alternating sides so that things don't go kadywompus on us .
Making quick headway now .
Last one goes on the left side .
Looks like a roof .
All but the end rafter tops were floating on the ridge and yet to be tacked on when I checked the walls for straight and found the left side wall bowed out about a quarter inch . So with a handy rope Ben had in his car I set up a Spanish windlass to bring it in to line with our string . And then set a temporary collar tie to keep it there .
Then I spike the tops in place . Hand nailed them as it was easier than fighting with the heavy nailgun .
By four pm I put the hustle on and we had a mad dash to get the roof sheathed . The entire roof was leaning to the back of the building about an inch and we had to bring it forward . The pole on the front was our plumb check so that we did not wind up with an out of square roof .
My nailgun is a bit worn out and does not always sink the nails so they need a whack occasionally .
Roof Monkey waits for the help to mark up the sheathing with sixteen-on-center stripes and cut us a half sheet .
Roof Monkey still waiting .
Last piece on the left side goes on .
Then we tackle the right side .
Last piece goes on the right side .
Six fifteen pm, tools packed and we have it all tarpped up for Sunday's rain .

Sunday, May 7, 2017

Building a couple more walls

Saturday we went for a night out on the town with our friends Peter and Laura .
Three beers and a mess of BBQ ribs and Chicken , including all the trimmings at Salvage Barbecue , and then later a chocolate tart and a glass of 10 year old Port had me stuffed to the gills . So Sunday morning I was dragging and we got a bit of a late start . The weatherman had it all wrong and it turned out to be a nice day , so we loaded up my tools and made the fifty minute run up to Richmond to see what we could get done . After about twenty minutes to set up our gear . . .
 . . . a bit of hustling had the front wall laid out and nailed together
The official photographer was on-site today so we got the action shots of the wall lift .
One twelve foot wall without sheathing goes up a whole lot easier than a sixteen footer with the sheathing on .
Almost there .
Kick it in to place and lined up with the blue chalk line .
Bottom plate nailed in to place , corners plumbed and stitched together , I nail down the top doubler plate .
We have a front wall with a four foot wide doorway .
Ben cuts us some more studs for the back wall . . . .
. . . . and sets them on the deck while I lay out the marks on the top and bottom plate .
I nail off the bottom plate to the studs .
The window header need a bit of persuasion to get it to line up nicely .
And it is up as we kick it in to place to line up with the chalk line . Yes we were short a couple of 2x4s to fit as cripples under the window . We'll fill them in later .
Nailing off the bottom plate on the back wall .
Ben strikes a pose , doubler ready in hand , while I reload the nailgun .
Corners plumbed and stitched together I set the top double plate .
Nail on some T-111 sheathing on the front .
With the middle board tacked temporarily over the doorway for proper spacing , we wrestle the other piece in place .
After sheathing the back wall we tarpped it all over to keep the rain out for the next couple of days .
One big box covered in tarps . Rafters and roof sheathing go on next .